LiveHelp can also be found from the Windows start menu.
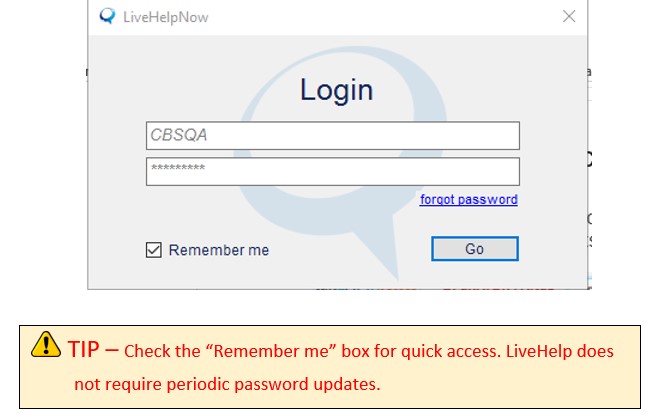
Enter your credentials.
Click Go.
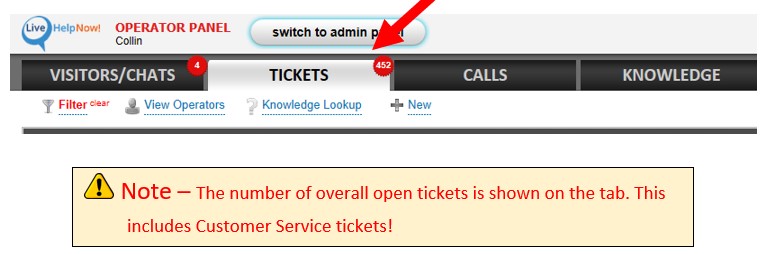
Operator Panel
Email is managed from the Tickets tab
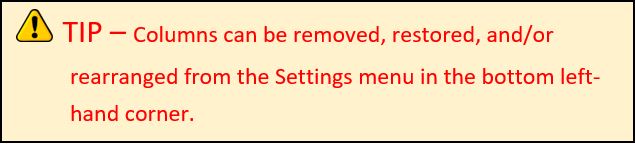
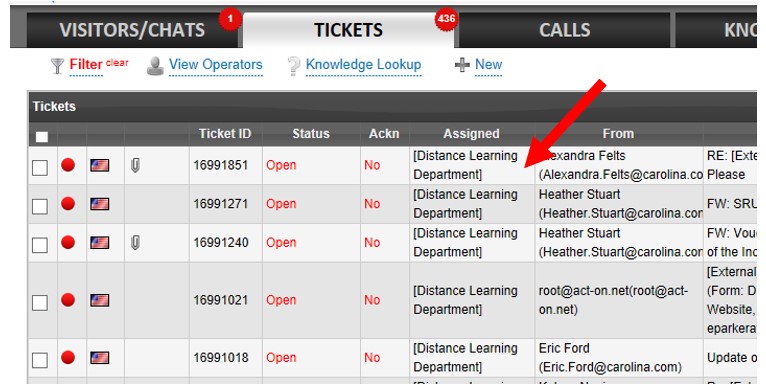
The ticket grid is arranged columns displaying email information in an organized and easily digestible manner.
Ticket ID = Each ticket has a unique ID number.
Status = Open, Feedback Received, Comment Added, Working, Waiting for Feedback, or Closed.
Ackn = Indicated whether a ticket has been accepted/acknowledged.
Assigned = The “Department” and individual a ticket has been assigned to.
From = Name and email address of sender.
Subject =Subject line of email.
Body = Beginning portion of the email.
Priority = High, Medium, or Low. This can be edited by the individual working the ticket or an administrator.
Date Created = Date and time original email was received.
Date Modified = Date and time of last modification (comment added, status change, assignment, feedback received, etc.).
Ticket Workflow
Accepting/Acknowledging Tickets
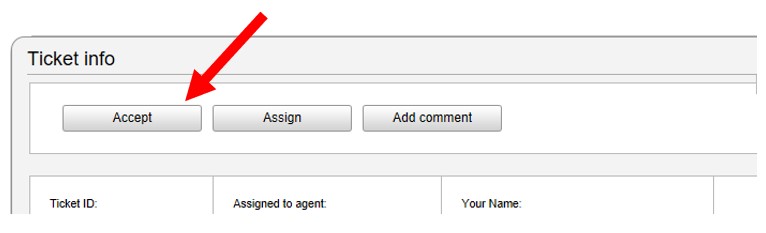
Each Ticket starts out as “Open” in the ticket grid and ends up “Closed” when it is resolved.
Select an unassigned to expand the Ticket info and click “Accept” to start working on it.
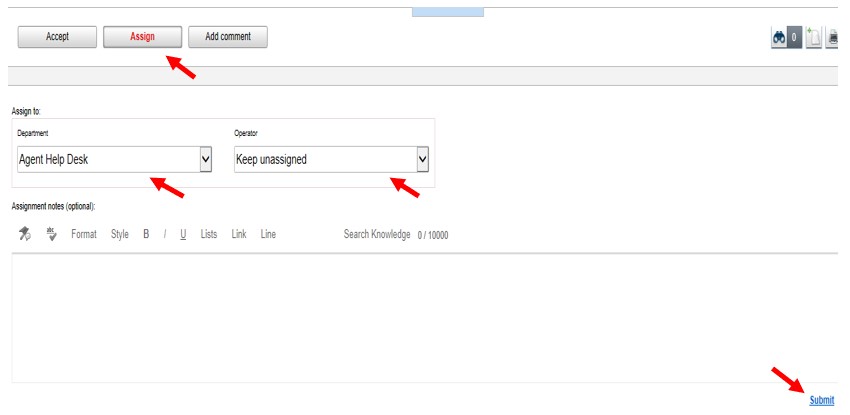
You can also “Assign” the ticket to a department and specific operator.
“Acknowledge” an assigned ticket to start working on it.
Ticket Structure
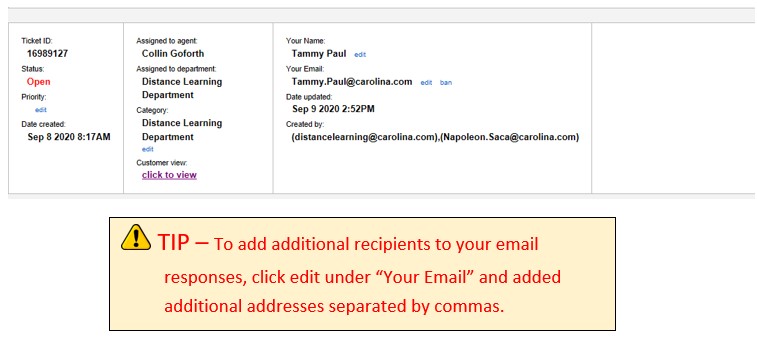
Upon expanding the ticket, important information from the ticket grid will be shown at top.
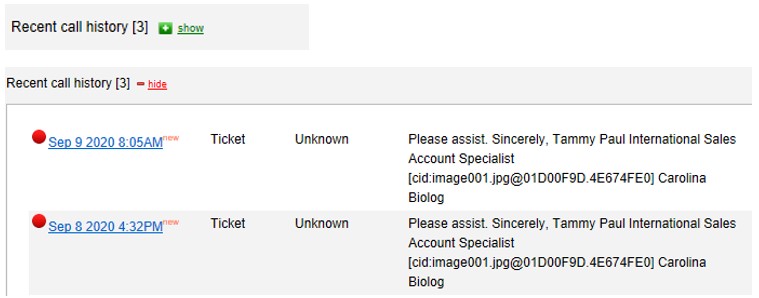
To see any other recent tickets from the sender, expand the “Recent call history”
The Subject line from the email appears next.
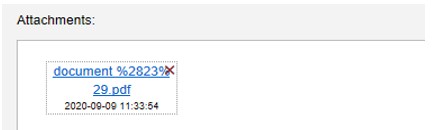
Any attachments will be displayed as links in the next section.
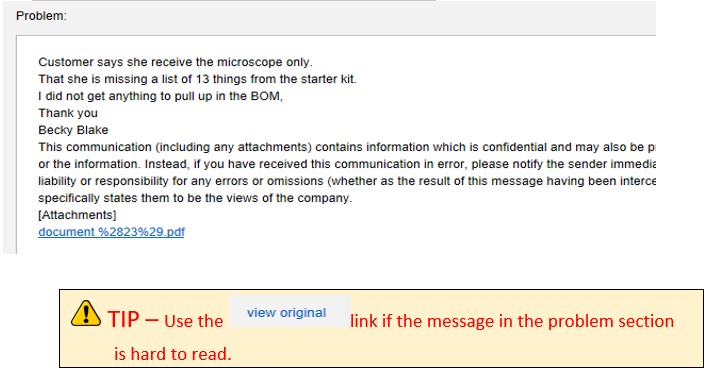
The body of the original email is listed in the “Problem” section. Any attachments will also be linked at the bottom of this section as well.
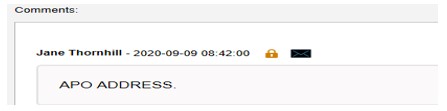
Any comments, resolutions, or customer replies will be displayed in the “Comments” section.
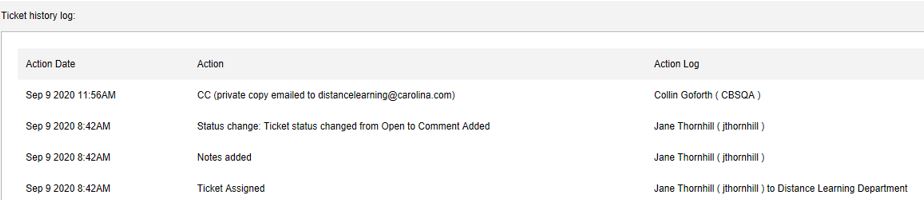
The “Ticket history log” at the bottom of the ticket documents the history of the ticket.
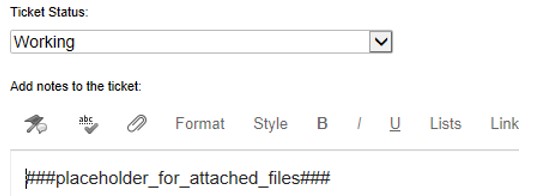
Replying to Tickets
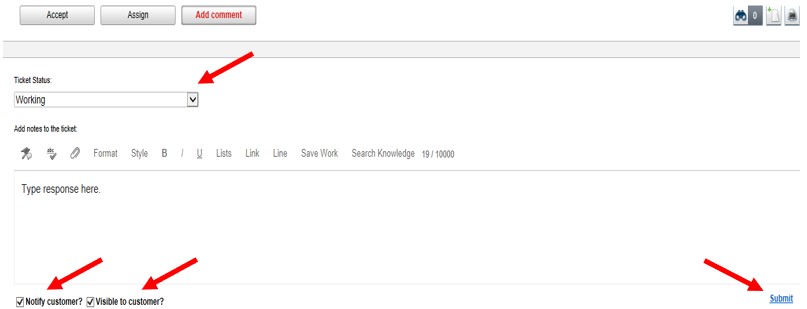
If you do not have enough information to resolve the ticket, use the “Add comments” button to update the ticket and change its status to “Working”, “Waiting for response”, or “Comment Added”.
Check “Visible to customer” to allow the customer to see your notes.
Check “Notify customer” to send an email update to the customer with your reply.
Click the “Submit” link after composing reply.
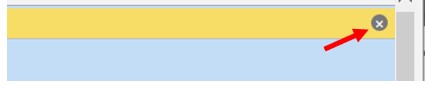
Click the X in the upper right-hand corner to return to the main ticket grid.
Resolving Tickets
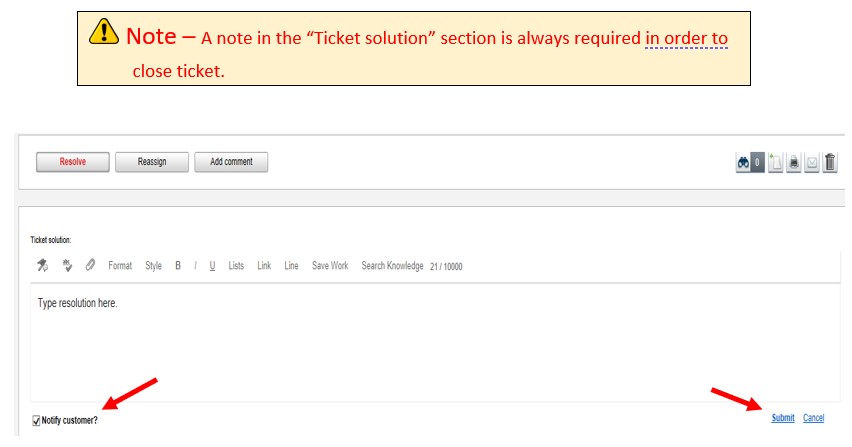
When you have found the best answer to the inquiry use the “Resolve” button to update and close the ticket.
Check “Notify customer” to send an email update to the customer with your response.
Uncheck “Notify customer” if a reply email is not necessary.
Click the “Submit” link to close the ticket
Ticket Tags
Tags give you the ability to track not just how many tickets you get, but just as importantly, what they are about.
Upon resolving a ticket, a drop-down box will appear containing general classifications for the issue(s) or request(s) on the ticket.
The operator may choose up to 5 tags per ticket.
Click on a tag to add it to the ticket.
To remove a tag, simply click on it again.
To collapse the tag menu, click on the small X in the upper-right hand corner of the tag menu.
Click the X in the upper right-hand corner to return to the main ticket grid.
Forwarding Tickets
When you need to forward a ticket to an individual without a LiveHelp license, click the envelope icon after accepting the ticket.
Manually add the individual’s email address. Use a comma to separate multiple addresses.
Add an optional comment. This comment is only visible in the individual’s email and will not be a visible comment on the ticket.
Change to a Private copy.
Click send.
Any replies to the forwarded email will be added as comments to the ticket and will change the status to “Feedback received”.
NOTES/TICKET SOLUTION SECTION
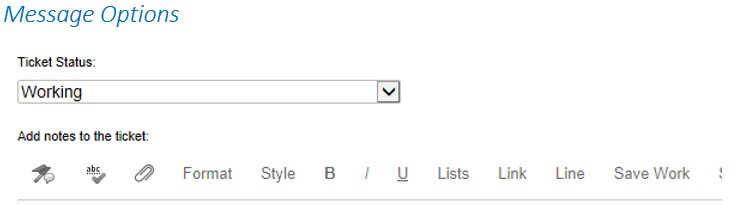
Message Options
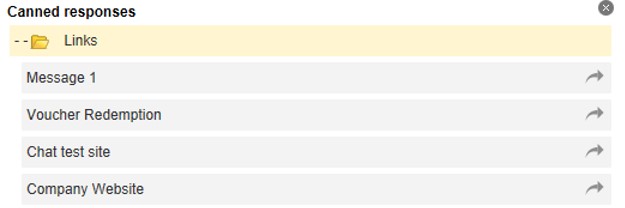
Canned Responses
Canned responses are pre-written responses to common questions that can make ticket resolutions quick and easy.
Click to pull up the canned responses menu. Click on message title to response in ticket message field.
Spell Check
Spell Check can be used at any point during message composition.
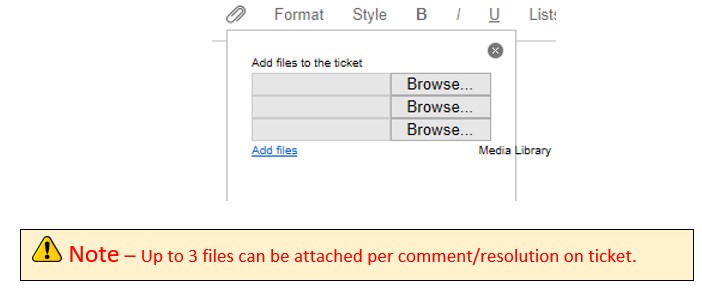
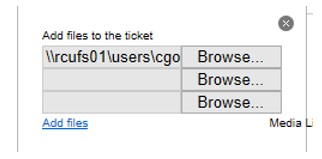
Attachments
After clicking the attachments icon, browse for the location of the save file/document you wish to attach to the ticket.
After selecting the file, click the “Add files” link
The following message will be added to the comment. Once the comment is submitted, it will appear as a link to the document in the email to the customer.
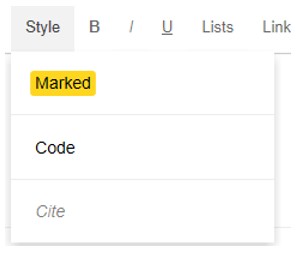
Style
Style allows you to highlight text within the comment.
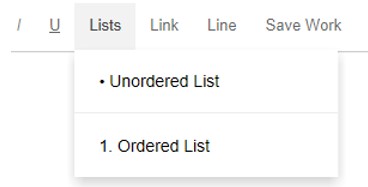
Lists
Click Lists to add either bullet points or a numbered list in comment.
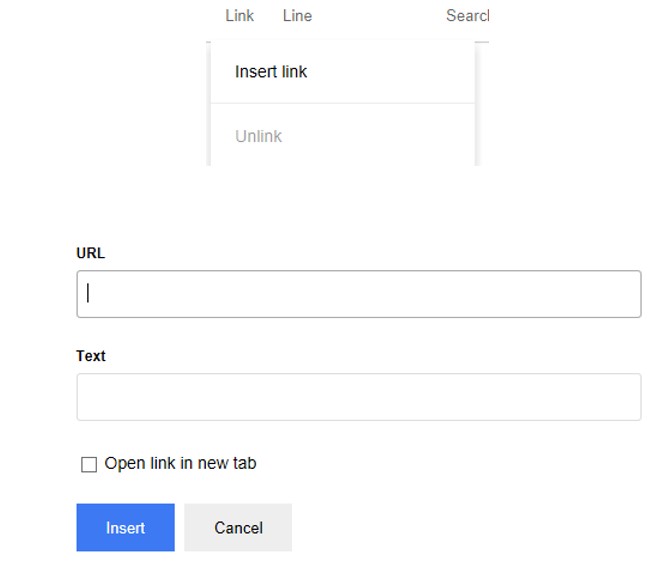
Link
Use the link function to add a hyperlink to a URL in comment.
Save Work
Click the “Save Work” to save draft of comment.
You will then be able to pick up exactly where you left even if you exit to main grid or log out.
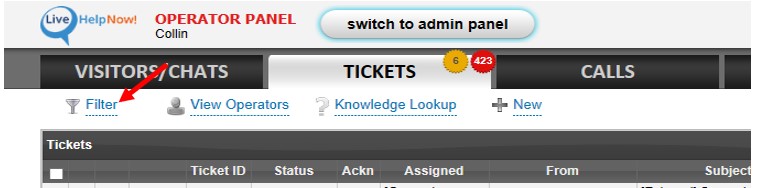
Filter/Ticket Searches
Ticket Filter
The filter allows you see only tickets that meet certain criteria on the main grid.
It also serves as the search function when looking for specific tickets.
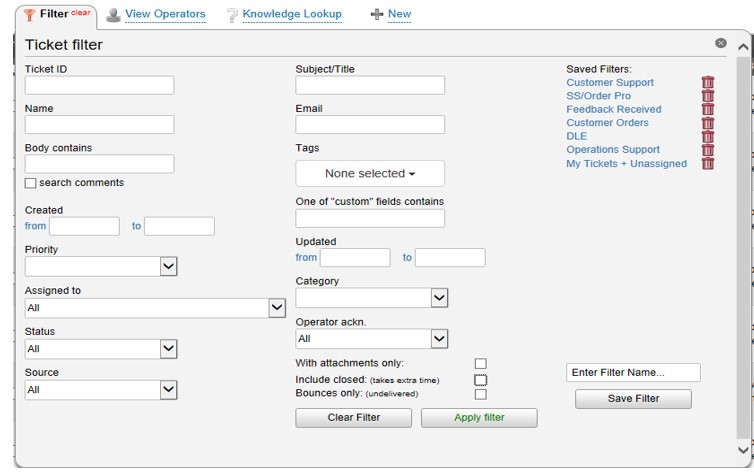
The criteria in the ticket filter can be used singularly or in conjunction with one another for more specific searches.
After setting up desired criteria, click “Apply Filter” and close filter screen to return to main grid.
Ticket ID = Each ticket has a unique ID number.
Subject/Title =Subject line of email.
Name = Name of email sender.
Email = Email address of sender.
Body contains = Words or phrases contained in initial email.
Click search comments to search ticket comments in addition to the initial email.
Tags = Search tickets with specified tags.
Created = Search an email received date or date range
Priority = Ticket marked High, Medium, or Low.
Updated = Search a date or date range for updates to tickets
Assigned to = The “Department” and/or individual a ticket has been assigned to.
Status = Open, Feedback Received, Comment Added, Working, Waiting for Feedback, or Closed
Operator ackn. Acknowledged or unacknowledged.
Include Closed = Date and time original email was received.
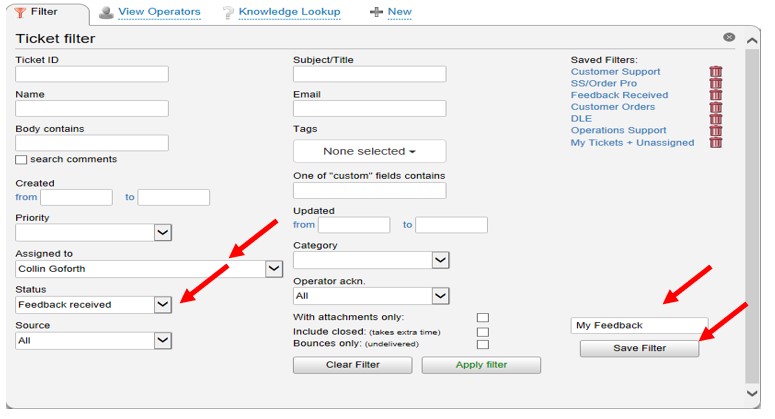
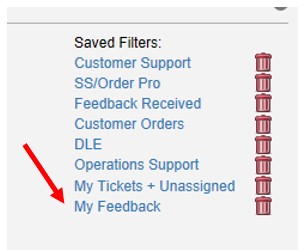
Save Filter
The “Save Filter” feature allows you to quickly set up and apply commonly used filters.
Click on the Filter link
Add the criteria you wish to search
Type a name for your saved filter
Click “Save Filter”
A link will be added to your saved filters list. The next time you wish to search that same criterion, simply click the link and the appropriate fields will be filled in.